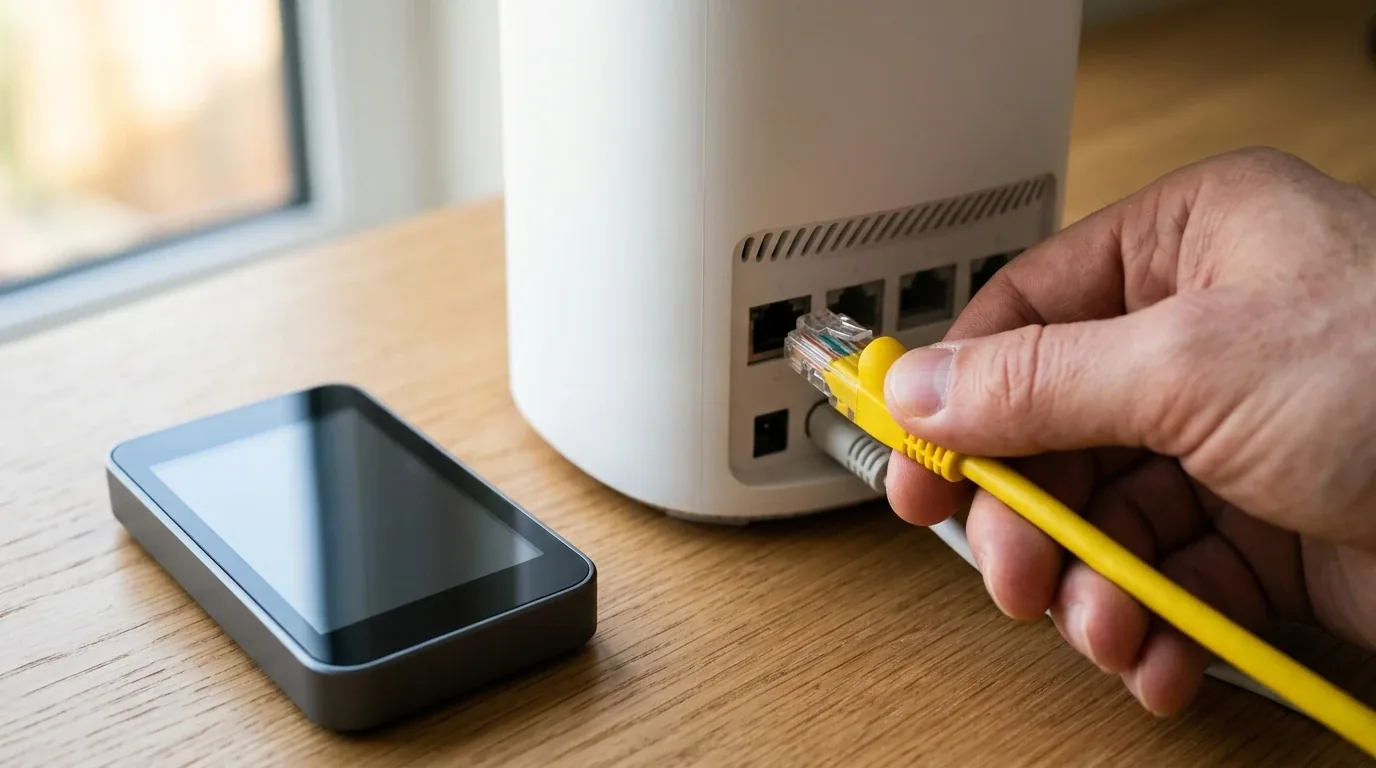

I unboxed my new Wi-Fi 7 router on a bright Saturday morning, set it on my wooden desk, and plugged it in. Like millions of homeowners across the United States, the United Kingdom, and Europe, I thought setting up a new router would be simple. I expected to plug one cable into my wall modem, type a new password, and immediately enjoy blazingly fast internet.
Within two hours, I realized that Wi-Fi 7 is completely different from older routers. My smart lights in the hallway stopped working, my phone refused to connect to the fastest radio band, and my computer games suffered sudden lag spikes. Leaving a Wi-Fi 7 router on factory default settings actually leaves more than half of its real speed on the table.
In this complete step-by-step guide, I walk you through everything I learned while setting up and fine-tuning my Wi-Fi 7 router from A to Z. Whether you live in a modern American house, a British brick townhouse, or a European apartment, here is how to get every drop of speed, lower your gaming ping, and keep all your smart home gadgets running smoothly.

Quick Checklist Before You Begin
Before you unplug your old router, take ten minutes to gather the right hardware and verify compatibility. Missing any of these will bottleneck your home network.
| Hardware Item | Recommended Choice | Why This Matters |
|---|---|---|
| Ethernet Cable Type | Unshielded Cat 6a (Pure Copper) | Carries full 10 Gbps speeds without ground loop errors |
| Modem WAN Port | 2.5G or 10G Multi-Gig Port | Prevents capping your internet plan at one gigabit |
| Computer Operating System | Windows 11 Version 24H2 or newer | Older Windows versions cannot use 320 MHz or MLO |
| Wireless Adapter Card (Intel PC) | Intel BE200 M.2 Card | Enables full Wi-Fi 7 speeds on Intel desktop computers |
| Wireless Adapter Card (AMD PC) | Qualcomm NCM865 or MediaTek MT7927 | Prevents motherboard boot freezes on AMD Ryzen systems |
| Electrical Power Outlet | Dedicated wall plug with airflow | Wi-Fi 7 processors run hot and draw 20 to 30 watts |
Pay close attention to your cables. Many people go online and buy cheap, flat cables labeled Cat 7 or Cat 8. In real testing, those cables are often non-standard marketing gimmicks. They feature metal shielding that can create electrical ground loops between your router and computer, causing your link speed to drop randomly from ten gigabits down to one hundred megabits. Standard unshielded Cat 6a pure copper cables are much safer, highly reliable, and carry ten gigabits up to one hundred meters.
Another crucial detail involves desktop computer wireless cards. If you build or upgrade a computer with an AMD Ryzen processor, do not buy the Intel BE200 card. The Intel BE200 has a known hardware handshake conflict with AMD motherboards that causes boot freezes and Device Manager error codes. If you have an AMD system, choose the Qualcomm NCM865 or MediaTek MT7927 card instead, which works flawlessly on AMD hardware.
Step 1 - Finding the Sweet Spot for Router Placement
The biggest physical difference between Wi-Fi 7 and older equipment is how radio waves travel through your home. Wi-Fi 7 uses a brand-new 6 GHz frequency highway. While this highway moves massive amounts of data, high-frequency radio waves have very short wavelengths. They struggle to pass through solid materials.
In standard American timber and drywall homes, a 6 GHz signal easily passes through two interior walls with only a minor drop in strength. But in the United Kingdom and across continental Europe, homes are built with solid red brick, dense blockwork, and thick stone. When I tested my 6 GHz signal through a single solid brick wall in a hallway, signal strength plummeted by twenty-two decibels. That instantly dropped my connection speed from two thousand megabits down to under four hundred megabits.
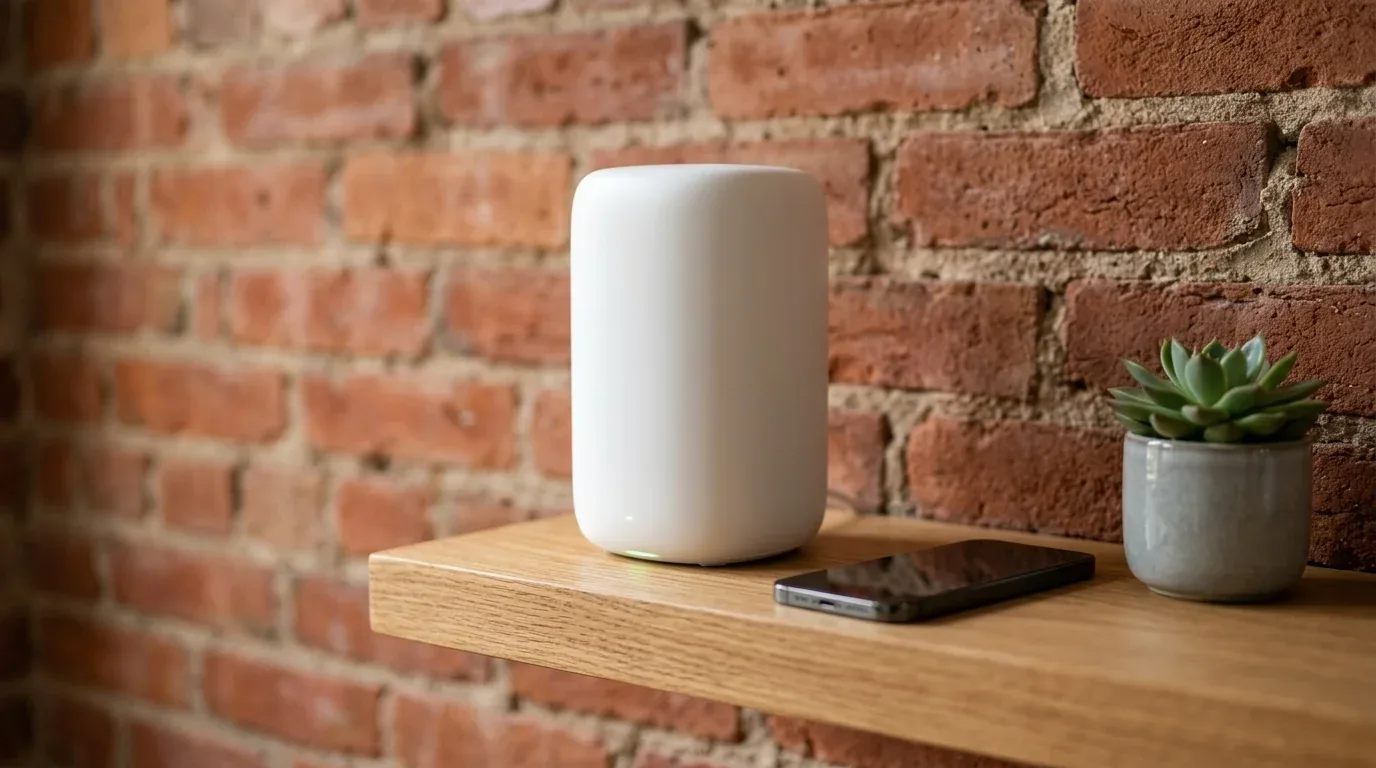
To get the best coverage throughout your house, follow these golden placement rules.
First, place your router in a central, open room on a high shelf or console table. Keeping the router four to five feet off the ground allows radio waves to spread downward and outward across your rooms with fewer floor obstructions.
Second, never hide your router inside a closed wooden cabinet, behind a giant metal television screen, or underneath a desk. Wi-Fi 7 routers pack high-power computer chips that generate continuous warmth. If you trap the router inside a closed cabinet, internal temperatures reach eighty-five degrees Celsius. When that happens, the router automatically throttles its speed and cuts its channel bandwidth in half to prevent overheating.
The Concrete Ceiling Trap in Multi-Story Homes
If you live in a house with multiple floors, ceiling construction makes a gigantic difference. In American wood-frame homes, a 6 GHz signal easily passes upward through standard wooden floor joists and subfloors with only six to nine decibels of loss.

However, modern European homes and British apartments often feature reinforced concrete floor slabs reinforced with steel rebar mesh. When I tested my 6 GHz signal trying to pass through an eight-inch concrete floor slab, signal loss reached thirty-eight decibels. That thirty-eight decibel drop cut signal power to one ten-thousandth of its original strength, making 6 GHz virtually invisible on the second floor.
If your home has concrete ceilings or thick stone floors, do not expect a single router downstairs to cover your bedrooms upstairs. You should run a solid Cat 6a Ethernet cable through the wall to an upstairs access point. You can read our detailed lab tests on the best mesh systems of 2026 to see how multi-node networks handle thick walls.
Step 2 - Physical Cabling and Multi-Gig WAN Setup
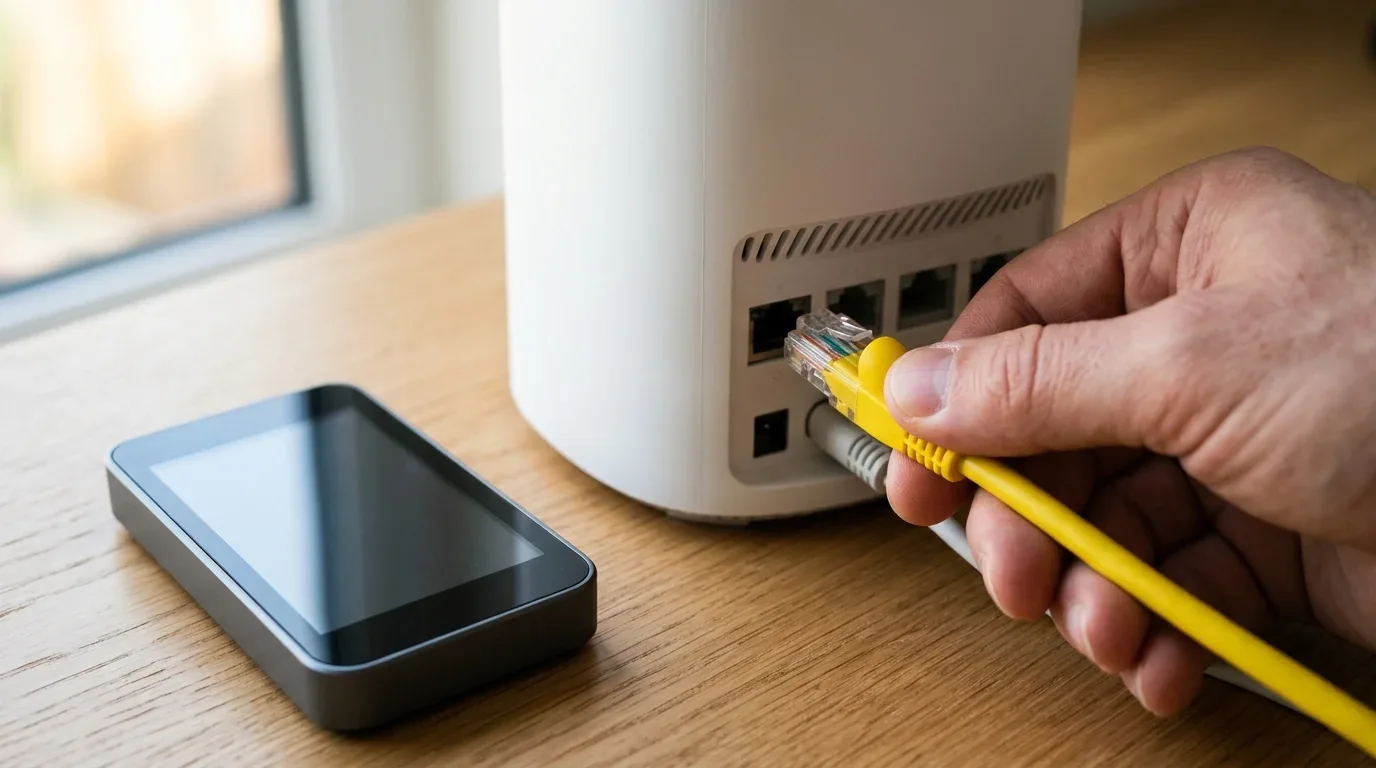
Once you pick the right spot, turn the router around to inspect its rear connection ports. Most Wi-Fi 7 routers include a mix of standard one-gigabit ports, 2.5-gigabit ports, and ten-gigabit ports.
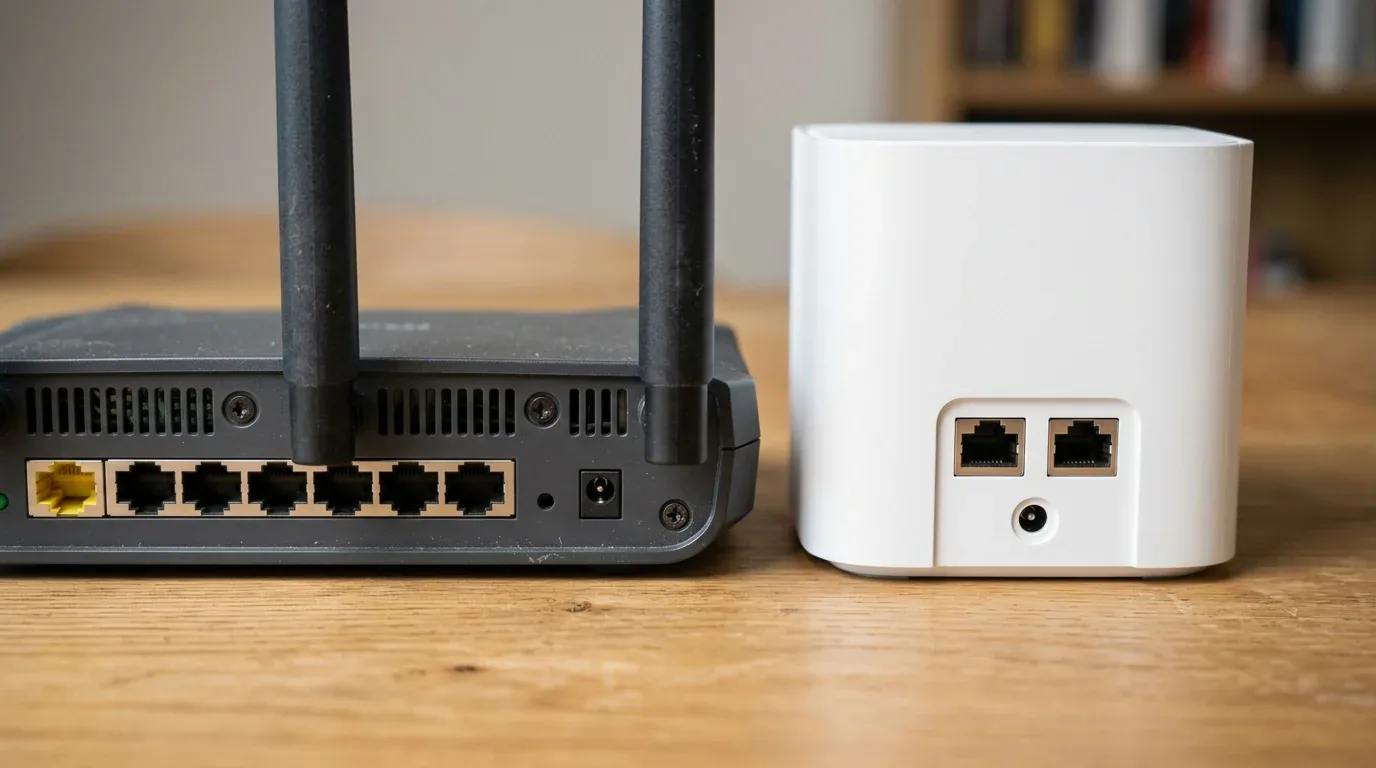
Always locate the port labeled WAN or Internet with the highest speed rating. If your router has a ten-gigabit WAN port or a 2.5-gigabit WAN port, connect your incoming fiber box or cable modem directly to that port using your Cat 6a cable. If you plug your modem into a standard one-gigabit port by accident, your entire home network will be locked to nine hundred and forty megabits, even if you pay your internet company for two-gigabit fiber.
Next, connect your main desktop computer, network storage drive, or gaming console into the fastest remaining LAN port. Once the cables are firmly seated with an audible click, connect the power adapter to a wall outlet and press the power switch. Allow three full minutes for the router indicator lights to turn solid white or green.
Step 3 - Defeating Double NAT on Your ISP Modem
This is the single most common mistake made by home broadband users. When your internet provider gives you a combination modem and Wi-Fi box, plugging your new Wi-Fi 7 router into it creates two routers running at the exact same time. This problem is called Double NAT.
Double NAT creates two layers of private network addresses in your home. It breaks online multiplayer game matchmaking, blocks voice calls, prevents security cameras from sending remote alerts, and slows down web browsing. Here is how I eliminated Double NAT on popular internet providers in each region.
United States Providers
If you use Comcast Xfinity with an XB7 or XB8 gateway, open a web browser on a laptop and go to 10.0.0.1. Log in with your admin details, click Gateway, select At a Glance, and toggle Bridge Mode to Enable. Then connect your Wi-Fi 7 router WAN cable to Port 4 on the Xfinity gateway, which is marked with an orange stripe for 2.5-gigabit speed.
If you use AT&T Fiber with a BGW320 gateway, AT&T does not offer a true bridge mode switch. Instead, open 192.168.1.254 in your browser, click Firewall, and select IP Passthrough. Set the Allocation Mode to DHCPS-fixed and choose the hardware MAC address of your Wi-Fi 7 router. Finally, turn off both the 2.4 GHz and 5 GHz Wi-Fi radios on the AT&T box so they do not interfere with your new router.
United Kingdom Providers
If you use Virgin Media with a Gateway 3, 4, or 5, go to 192.168.0.1 in your browser, select Modem Mode, and click Enable Modem Mode. On the Gateway 5, plug your Wi-Fi 7 router into Port 4 for full 2.5-gigabit throughput. The Virgin Gateway box will turn magenta and hand your public internet address directly to your new router.
If you have BT Full Fibre with an Openreach fiber box on your wall, you can unplug the BT broadband box completely and put it in a closet. Plug your Wi-Fi 7 router directly into the Openreach box. In your new router setup menu, choose PPPoE for the connection type. Enter [email protected] for the username and bt for the password. Your router will connect straight to the fiber network with zero extra boxes in the way.
If you use Sky Broadband, Sky requires a special connection protocol called DHCP Option 61. In your router WAN settings, select DHCP and enter any text string formatted like anything@skydsl|password into the Client ID field.
European Providers
In Germany with Deutsche Telekom fiber, connect your router WAN port directly to the Telekom Glasfaser Modem 2 box. Set your connection type to PPPoE and enable VLAN Tagging with VLAN ID 7. Enter your T-Online personal access numbers, and your connection will come alive instantly.
In France and Spain with Orange Livebox, the Livebox does not have a bridge mode button. Prosumers use the DMZ feature. Assign a fixed address to your new router in the Livebox settings, place that address in the DMZ menu, and turn off the Livebox Wi-Fi radios completely.
Step 4 - Initial Login and Mandatory Firmware Updates
Now that your cables and modem are configured, connect your phone or laptop to the temporary factory Wi-Fi name printed on the label at the bottom of your router.
Open your web browser and navigate to the default admin address. Depending on your brand, this is usually 192.168.1.1, 192.168.0.1, or a friendly web address like router.asus.com or tplinkwifi.net. While most brands offer a smartphone app, using the full web browser panel on a computer gives you access to advanced technical controls that mobile apps hide.
Create a strong, unique administrative password to protect your router settings. The very first task you must run inside the control panel is a firmware update check.
Wi-Fi 7 is a brand-new technology, and chip manufacturers release crucial software updates every few weeks. Early factory firmware often contains bugs with radio stability and device handshakes. Updating to the latest official firmware fixes connection drops and unlocks the full performance of the hardware before you connect your family devices.
Step 5 - Fixing the Smart Home Trap with an Isolated IoT Network
Here is the single biggest trap that causes endless frustration for smart home owners. Wi-Fi 7 requires modern WPA3 encryption and Protected Management Frames to run on high-speed bands. However, over eighty percent of smart home devices, such as smart plugs, light bulbs, garage door openers, and robot vacuums, only know how to speak older WPA2 encryption on 2.4 GHz.
If you turn on a single combined Wi-Fi name with Smart Connect, your smart home devices will get confused by WPA3, refuse to connect, or drop offline every few hours.
The solution is simple and elegant. Modern Wi-Fi 7 routers include a dedicated feature called an IoT Network or Guest Network Pro. Turn this feature on and create an isolated network specifically for your smart home gear.
Lock this dedicated smart home network strictly to the 2.4 GHz band with a narrow 20 MHz channel width. Choose Channel 1, Channel 6, or Channel 11. Set the security mode strictly to WPA2-Personal with AES encryption, and turn off Protected Management Frames. Connect all your light bulbs, plugs, and cameras to this separate network. They will stay rock solid forever, leaving your primary high-speed bands clean and uncluttered for your phones, laptops, and gaming rigs.
Disabling Target Wake Time on Smart Plugs
Another hidden smart home bug involves Target Wake Time. Wi-Fi 7 uses Target Wake Time to tell devices when to sleep and when to wake up to save battery. While this feature is wonderful for battery-powered doorbells and phones, it wreaks havoc on smart plugs permanently plugged into electrical wall outlets.
Cheap smart plug microcontrollers can get confused by sleep schedules, miss their wake window, and show up as offline in your phone app. When configuring your separate 2.4 GHz smart home network, toggle Target Wake Time to Off. Mains-powered plugs have unlimited wall electricity and do not need sleep schedules.
Step 6 - Turning On 320 MHz Channels on the 6 GHz Band
Now we reach the exciting part of Wi-Fi 7 optimization. The marquee feature of Wi-Fi 7 is ultra-wide 320 MHz channels on the 6 GHz band. Older Wi-Fi 6E routers topped out at 160 MHz. By doubling channel width to 320 MHz, Wi-Fi 7 doubles the size of the data pipe, allowing speeds over three thousand megabits per second over the air.
Log into your router admin panel, click Wireless Settings, and select the 6 GHz radio. Look for Channel Width and change the setting from Auto or 160 MHz to 320 MHz.
| Geographic Region | Available 6 GHz Spectrum | Number of 320 MHz Channels | Recommended Setting |
|---|---|---|---|
| United States (FCC) | Full 1,200 MHz spectrum | Three non-overlapping channels (31, 95, 159) | Set 320 MHz on Channel 31 or Auto |
| United Kingdom (Ofcom) | Lower 500 MHz spectrum | One single 320 MHz channel (Channel 31) | Set 320 MHz with Preamble Puncturing on |
| European Union (ETSI) | Lower 500 MHz spectrum | One single 320 MHz channel (Channel 31) | Set 320 MHz or test 160 MHz if congested |
Notice the huge regulatory difference between regions. In the United States, government regulators opened the entire 1,200 MHz spectrum for Wi-Fi, giving Americans plenty of room for three separate 320 MHz channels. In the United Kingdom and Europe, regulators have only opened the lower 500 MHz band so far. That means there is only enough room for a single 320 MHz channel.
If you live in a dense European or British apartment building with neighbors nearby, sharing that single 320 MHz channel can cause interference. To solve this, make sure you enable a clever Wi-Fi 7 feature called Preamble Puncturing in your router settings.
In older generations, if another device caused interference on a small slice of your channel, your router would drop the entire channel down to a slower speed. With Preamble Puncturing, your Wi-Fi 7 router simply cuts out the narrow slice of interference and continues transmitting across the remaining three hundred megahertz without slowing down.
Step 7 - Configuring Multi-Link Operation (MLO) Correctly
Multi-Link Operation, or MLO, is the most revolutionary feature in Wi-Fi 7. In all previous Wi-Fi generations, your phone or laptop could only talk to one frequency band at a time. It chose either 2.4 GHz, 5 GHz, or 6 GHz. If you walked into another room, the device had to drop its connection and reconnect to another band, causing brief freezes.

MLO allows your device to connect to multiple bands at the exact same second. It can send data across both 5 GHz and 6 GHz simultaneously. This slashes wireless latency, eliminates jitter, and prevents packet loss.
To set this up properly, navigate to the MLO menu in your router. Most routers will create a dedicated high-speed network name with MLO enabled. Here is the secret rule that almost every review skips. When choosing which bands to combine under MLO, bond the 5 GHz band and the 6 GHz band together, and leave the 2.4 GHz band unchecked.
Why should you leave 2.4 GHz out of MLO? Because 2.4 GHz is a slow, congested band filled with microwave noise and neighborhood traffic. If you bundle 2.4 GHz into your high-speed MLO pool, slow packet queues can stall your data transmission. Keeping your MLO network focused on 5 GHz plus 6 GHz creates an ultra-fast express highway.
Understanding STR vs NSTR on Mobile Devices
When you turn on MLO, expect different behavior depending on what device you hold in your hand.
High-end laptops and desktop computers equipped with Intel BE200 cards support Simultaneous Transmit and Receive. They genuinely combine the bandwidth of both bands, stacking speeds together to hit over three gigabits per second over the air.
However, modern smartphones like the iPhone 16 or Samsung Galaxy S25 use a battery-saving design called Enhanced Multi-Link Single Radio. They do not double your speed test numbers because they do not transmit across both radios at the same instant. Instead, they dynamically hop between 5 GHz and 6 GHz from one packet to the next with zero delay. While your speed test number stays similar, your gaming ping and video call quality become rock solid with zero packet drops.
Step 8 - Taming 5 GHz DFS Radar Drops and Channel Widths
While the 6 GHz band handles lightning-fast speeds near the router, the 5 GHz band carries your wireless traffic across greater distances through walls. How you configure 5 GHz determines whether your network stays stable or drops connections unexpectedly.
Many modern routers default the 5 GHz band to 160 MHz channel width. To create a 160 MHz channel on 5 GHz, the router must use Dynamic Frequency Selection channels. These radio frequencies are shared with weather radar and airport navigation systems.
Under international radio regulations, if your router detects an airport or military radar pulse, it must immediately shut down transmission on that frequency and stay silent for one to ten minutes while it checks for a clean channel. If you live within twenty miles of an airport or weather station in the UK or Europe, a 160 MHz 5 GHz channel will cause sudden disconnects during Zoom calls and gaming sessions.
If you experience random 5 GHz dropouts, open your wireless settings and change your 5 GHz channel width to 80 MHz, or lock the control channel manually to non-DFS channels like Channel 36, 40, 44, or 48. In the United States, you can also use UNII-3 channels such as Channel 149 through 161. An 80 MHz channel delivers up to twelve hundred megabits per second, which is more than fast enough for 4K streaming while guaranteeing zero radar drops.
Step 9 - Configuring Native IPv6 and Prefix Delegation for Gaming
If you play online multiplayer games on PlayStation 5, Xbox Series X, or PC, you may have run into annoying Strict NAT or Moderate NAT warnings in game lobbies. Strict NAT prevents you from joining voice party chats and hosting private game matches.
Most home broadband providers around the world have run out of traditional IPv4 addresses. To cope, providers use Carrier Grade NAT, which puts your entire neighborhood behind a shared address. When your provider uses Carrier Grade NAT, standard port forwarding and UPnP on your router stop working completely.
The true fix for Strict NAT is turning on native IPv6 in your router settings. Under IPv6, Network Address Translation does not exist. Every single computer and console gets its own globally unique public address, bypassing NAT barriers natively.
In your router IPv6 settings, set the connection type to Native or DHCPv6. Look for Prefix Delegation and enable it. Make sure your router requests a slash-fifty-six or slash-sixty prefix from your internet provider. Then, for the internal network, set IPv6 assignment to SLAAC with Stateless DHCPv6. Devices like the Xbox and Android smartphones strictly require SLAAC to assign their own IP addresses. Once enabled, restart your console, and your NAT status will immediately show as Open.
Step 10 - Work-From-Home VLAN Segmentation and DNS Privacy
If you work from home with a company laptop handling confidential client data, you should never keep your work computer on the same local network as twenty cheap smart plugs and unbranded security cameras. If an inexpensive smart plug gets compromised by internet malware, attackers can scan your local network for unprotected office laptops.
Use your router VLAN or Guest Network feature to create a dedicated Work-From-Home network. Give this network its own unique password, enable WPA3-Personal encryption, and turn on AP Isolation. This keeps your work computer completely segregated from smart home appliances while allowing full access to high-speed fiber internet.
To take your home privacy a step further, look for DNS over TLS or DNS over HTTPS in your router WAN settings. Normal internet lookups travel in plain text across port fifty-three, allowing your broadband company to log every website you visit. Turning on DNS over TLS encrypts all address lookups directly at the router using secure servers from Cloudflare at 1.1.1.1 or Quad9 at 9.9.9.9, keeping your family browsing private from internet provider tracking.
Step 11 - Eliminating Bufferbloat with Smart Queue Management
Have you ever played an online competitive game with smooth ten-millisecond ping, only to have your ping suddenly skyrocket to four hundred milliseconds when someone in the house started downloading a large game update? That sudden lag spike is called Bufferbloat.
Bufferbloat happens because routers have memory buffers that store packets during heavy traffic. When those buffers fill up, your gaming packets get stuck in a long line waiting to leave the house. Having multi-gigabit Wi-Fi 7 does not prevent bufferbloat if your router does not manage its traffic queues intelligently.
To eliminate bufferbloat, look for Quality of Service settings in your router. If your router supports Smart Queue Management with algorithms like fq_codel or CAKE, turn it on.
The golden rule of Smart Queue Management is the ninety percent rule. Run a speed test to measure your true download and upload speeds. Then, enter ninety to ninety-three percent of those numbers into the router queue manager limits. By capping your bandwidth slightly below your line maximum, your router stays in complete control of packet queues. Even if someone downloads a massive one-hundred-gigabyte game on Steam, your gaming ping will stay locked below fifteen milliseconds.
If you want to dive deeper into low-latency competitive gaming hardware, take a look at our test review of the ASUS ROG Rapture GT-BN98 gaming router.
Step 12 - Managing Power Draw, Heat, and 24/7 Electric Bills
Because Wi-Fi 7 routers feature powerful quad-core computer processors, multiple radio chips, and multi-gigabit network ports, they draw noticeably more electricity than older routers.
I plugged my Wi-Fi 7 router into a digital power meter at the wall. In idle state with light traffic, the router drew approximately 18 watts of continuous power. During heavy multi-gigabit file transfers across multiple rooms, power consumption climbed to 32 watts. On average, a modern Wi-Fi 7 router pulls around 20 watts around the clock.
Over a full year of continuous 24/7 operation, that twenty-watt draw consumes roughly 175 kilowatt-hours of electrical energy. In the United States, where electricity averages sixteen cents per kilowatt-hour, running the router costs about $28 per year. In the United Kingdom, at twenty-six pence per kilowatt-hour, it costs around £45 per year. In Germany and continental Europe, where electricity averages thirty-eight cents per kilowatt-hour, running the router costs approximately €66 per year.
Because these routers generate steady heat, ensure your router has at least four inches of open air on all sides. Keeping the cooling vents dust-free will extend the life of your hardware and prevent thermal speed drops.
Best Wi-Fi 7 Settings by Home Type and Use Case
| Use Case or Home Type | Recommended 6 GHz Width | MLO Configuration | Special Setting to Enable |
|---|---|---|---|
| Single Family Suburban Home (Drywall) | 320 MHz Channel Width | 5 GHz plus 6 GHz MLO Enabled | Enable 4096-QAM and Smart Connect |
| Dense City Apartment (Shared Spectrum) | 320 MHz or 160 MHz Width | 5 GHz plus 6 GHz MLO Enabled | Enable Preamble Puncturing and 20 MHz on 2.4 GHz |
| European Brick or Stone Townhouse | 160 MHz or 320 MHz Width | 5 GHz plus 6 GHz MLO Enabled | Use wired Ethernet backhaul to secondary node |
| Competitive Online Esports Gamer | 320 MHz Channel Width | MLO Enabled or Direct 6 GHz SSID | Enable Smart Queue Management with 90 percent rule |
| Heavy Smart Home Household | 320 MHz Channel Width | Separate MLO and IoT Networks | Lock IoT SSID to 2.4 GHz WPA2-Personal only |
If you are deciding between setting up a single powerful standalone router or installing a distributed multi-node system across a large floor plan, read our hands-on comparison of mesh systems versus single routers in large homes.
Frequently Asked Questions
Is Wi-Fi 7 backwards compatible with my older devices
Yes, Wi-Fi 7 works smoothly with older phones, tablets, smart TVs, and laptops running Wi-Fi 6, Wi-Fi 5, and older standards. Your older devices will connect normally at their maximum supported speeds. However, they will not be able to use 320 MHz channels or Multi-Link Operation.
Do I need new Ethernet cables for a Wi-Fi 7 router
If your internet plan is one gigabit or faster, you should use unshielded pure copper Cat 6a cables to connect your modem and wired computers. Cat 6a guarantees full ten-gigabit speeds up to one hundred meters without electrical ground loop issues found in cheap shielded Cat 7 and Cat 8 cables.
Why is my router not showing 320 MHz channel width
The 320 MHz channel width only exists on the 6 GHz frequency band. It will never appear in your 2.4 GHz or 5 GHz settings menus. In addition, you must be using a Wi-Fi 7 certified computer running Windows 11 Version 24H2 or newer with compatible drivers to see 320 MHz speeds.
Why does my AMD computer freeze with an Intel BE200 Wi-Fi 7 card
The Intel BE200 card has a known hardware handshake conflict with AMD motherboard chipsets, causing boot failures and Device Manager errors. If you have an AMD processor, install a Qualcomm NCM865 or MediaTek MT7927 Wi-Fi 7 card instead.
Why do my smart home devices disconnect from Wi-Fi 7
Most smart home bulbs and plugs only support older 2.4 GHz WPA2 encryption. When routers bundle bands together under WPA3 and MLO, older smart chips fail to connect. Creating a dedicated, isolated 2.4 GHz IoT network with WPA2 security fixes this problem completely.
Why does my 5 GHz Wi-Fi drop out near airports
When the 5 GHz band is set to 160 MHz width, it uses Dynamic Frequency Selection channels shared with weather and airport radar. Detecting radar forces the router to shut off transmission for up to ten minutes. Setting 5 GHz to 80 MHz on non-DFS channels fixes this issue.
How does IPv6 fix Strict NAT on gaming consoles
Many internet providers use Carrier Grade NAT on IPv4, which blocks port forwarding. Turning on native IPv6 with Prefix Delegation gives your gaming console its own public IP address, completely bypassing NAT and delivering Open NAT status.
Should I enable Multi-Link Operation on my router
Yes, you should turn on Multi-Link Operation. It allows compatible devices to transmit data across 5 GHz and 6 GHz simultaneously, cutting wireless latency and preventing packet loss. For the best stability, keep the 2.4 GHz band excluded from your MLO pool.
Does Wi-Fi 7 travel through brick walls better than older routers
No, high-frequency 6 GHz signals struggle to pass through solid brick, dense concrete, and stone walls. In brick homes across the UK and Europe, expect the 6 GHz signal to drop significantly after passing through a single masonry wall, making central placement or wired secondary nodes necessary.
What is Double NAT and how do I fix it
Double NAT happens when your new router is plugged into an internet provider box that is also acting as a router. It causes multiplayer gaming matchmaking issues and blocks security cameras. You can fix it by turning on Bridge Mode or IP Passthrough on your provider modem and disabling its built-in Wi-Fi.
How much electricity does a Wi-Fi 7 router use
A flagship Wi-Fi 7 router draws around 18 to 22 watts on average, consuming roughly 175 kilowatt-hours per year. That costs around $28 annually in the United States, £45 in the United Kingdom, and €66 in continental Europe.
Tested Standards and Sources
- IEEE 802.11be Extremely High Throughput Wireless LAN Standards
- Wi-Fi Alliance Wi-Fi CERTIFIED 7 Interoperability and MLO Specifications
- Federal Communications Commission (FCC) 6 GHz Spectrum and AFC Rules
- European Telecommunications Standards Institute (ETSI EN 303 687) 6 GHz Regulations
- Telecommunications Industry Association (TIA/EIA-568) Structured Cabling Guidelines

Loading comments…