
When my internet service provider installed a brand new fiber gateway in my hallway closet, the technician told me it was the only piece of networking equipment I would ever need. But within two days, I ran into a familiar headache. While the connection was lightning fast right next to the box, my home office at the other end of the house barely received a whisper of signal. Thick plasterboard and kitchen appliances blocked the signal completely.
I immediately wanted to buy a multi-node mesh Wi-Fi system to blanket my entire home in seamless coverage. But looking at the provider gateway box, I hesitated. My fiber internet, my home phone line, and my TV box were all plugged into that single unit. Could I simply plug a mesh router into my existing provider box? Or would running two routers at the exact same time break my home internet?
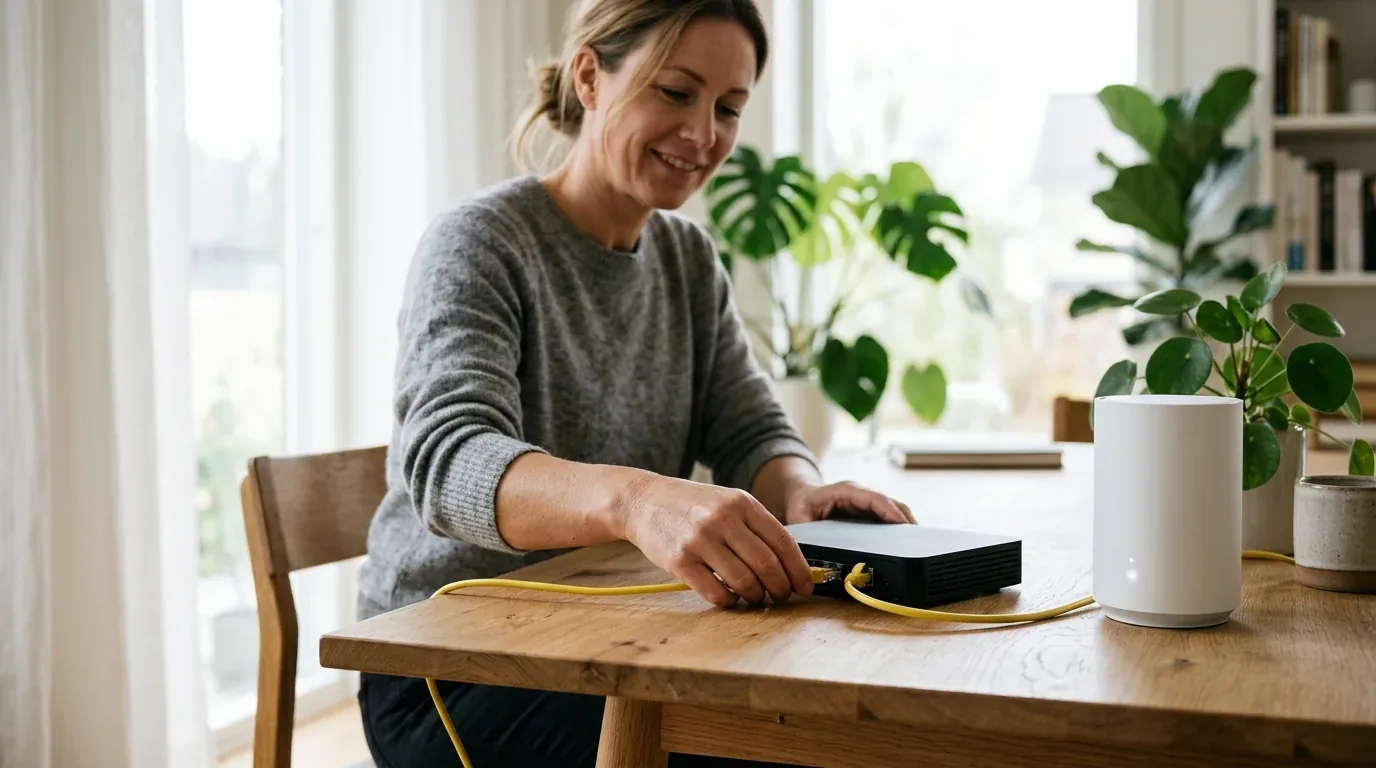
The short answer is yes, you can absolutely add mesh Wi-Fi to an existing router. In fact, millions of homes across the United States, the United Kingdom, and Europe do this exact setup every day. But if you simply plug the two boxes together without changing a few basic settings, you will run straight into a nasty networking problem called Double NAT. In this guide, I will walk you through the two best ways to connect mesh Wi-Fi to an existing router, explain how to avoid Double NAT, and show you step by step how to get rock solid wireless coverage in every room.
Understanding the Double NAT Trap
Before plugging in any cables, you need to understand what happens when two routers share a single internet line. This problem is known in networking as Double NAT, which stands for Double Network Address Translation.
Your internet provider gives your home a single public IP address from the outside world. Your home router acts like a traffic cop. It takes that single public address and creates a private local network, assigning unique private addresses (usually starting with 192.168.1.X) to your phones, laptops, and smart TVs.
When you plug a brand new mesh router directly into an existing provider router without changing any settings, both boxes try to act as the traffic cop at the same time:
- The provider box creates its own private network and assigns a private IP address to your mesh router.
- The mesh router then creates a second private network on top of the first one, assigning another set of private IP addresses to your personal devices.
For simple web browsing and streaming Netflix movies, you might not notice anything wrong at first. But behind the scenes, having two active firewalls and two sets of routing tables creates constant friction. Online multiplayer games on PlayStation, Xbox, and Nintendo Switch will report a Strict NAT or Moderate NAT warning, preventing you from joining party chats or connecting to game servers. In addition, port forwarding rules, smart home security cameras, and remote desktop tools will fail to connect from outside your home.
The Two Ways to Connect Mesh Wi-Fi to an Existing Router
To eliminate Double NAT, you must ensure that only one box handles network routing and firewall duties, while the other box focuses purely on passing data through. You have two proven methods to achieve this cleanly.
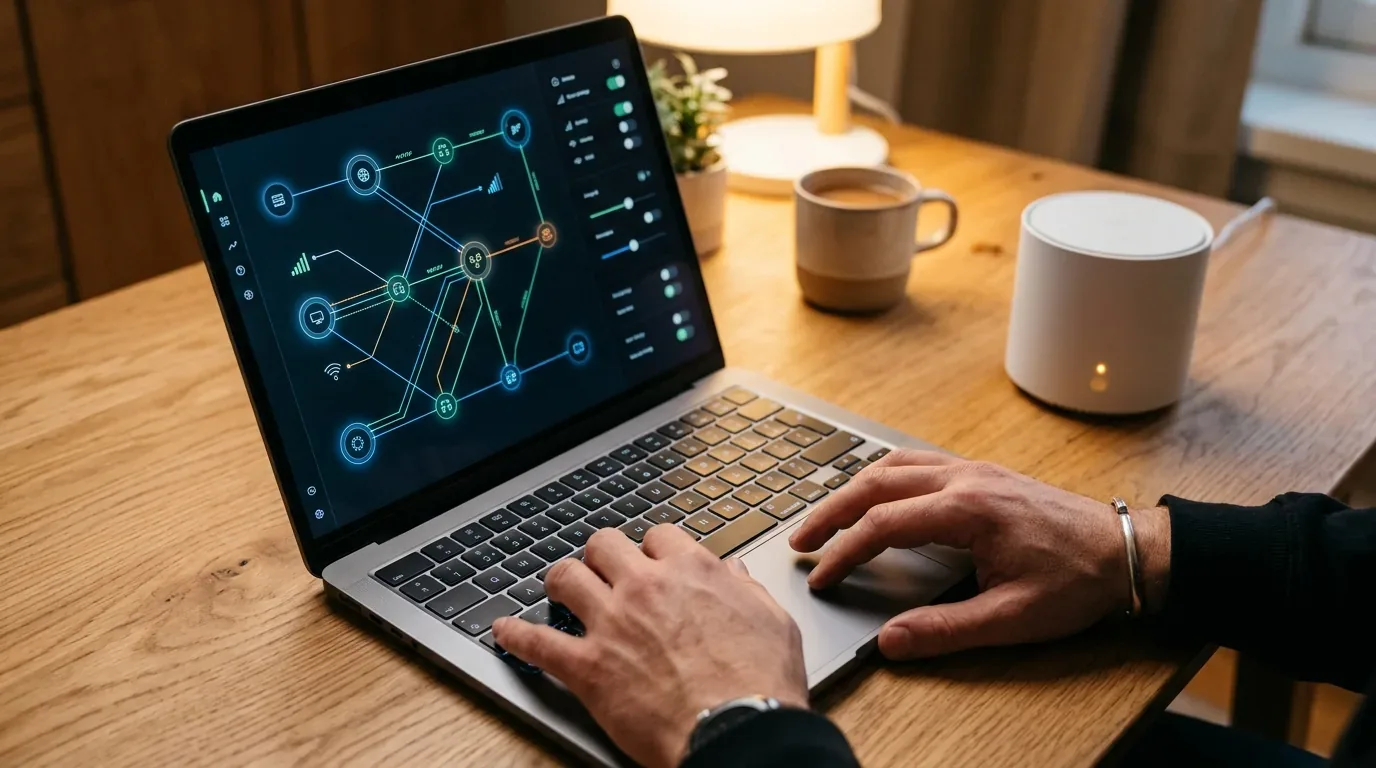
Method 1 - Enable Bridge Mode on Your Existing Provider Gateway (Recommended)
This is the cleanest and most powerful way to set up your home network. In this configuration, you tell your provider gateway to turn off its own internal router and Wi-Fi radios. The provider box becomes a transparent pass-through modem, while your new mesh Wi-Fi system takes full control of your home network.
Here is why Method 1 is the best choice for most homes:
- Your mesh system handles all firewall security, parental controls, and device prioritization.
- You can use advanced mesh features like guest networks, ad blocking, and IoT device isolation without interference.
- Your gaming consoles receive an Open NAT type for lag-free multiplayer matchmaking.
Method 2 - Put Your Mesh System into Access Point Mode
If your provider gateway cannot be put into bridge mode, or if you must keep the provider router active to support bundled television set-top boxes or landline VoIP phones, Method 2 is your savior. In this setup, your existing provider router remains the primary brain of the network, while your mesh system is switched into Access Point (AP) Mode.
In Access Point Mode, the mesh nodes disable their internal DHCP routing servers and firewall tables. The mesh units focus 100% of their processing power on creating a seamless, high speed wireless blanket across your home. Your provider router assigns all IP addresses, while your devices still enjoy fast 802.11k/v roaming between mesh nodes.
The only downside to Method 2 is that a few specialized software features inside your mesh mobile app (such as custom QoS bandwidth limits, built-in VPN servers, or parental time limits) might be disabled in AP mode depending on the brand you buy.
Comparison of Setup Methods
Here is how the three different connection approaches compare in terms of gaming performance, smart home reliability, and ease of installation.
| Feature and Capability | Method 1 - Gateway in Bridge Mode | Method 2 - Mesh in Access Point Mode | Unconfigured Direct Plug-in (Double NAT) |
|---|---|---|---|
| NAT Type for Online Gaming | Open NAT (Zero matchmaking lag) | Open NAT (Managed by gateway) | Strict or Moderate NAT (Party chat breaks) |
| Risk of IP Address Conflicts | None (Single DHCP server active) | None (Gateway assigns all IPs) | High (Both boxes fight for 192.168.1.1) |
| Mesh Security and Parental Controls | Fully Active (Controlled via mesh app) | Limited (Some features disabled) | Active (May conflict with gateway firewall) |
| Seamless Fast Roaming Across Nodes | Yes (Full 802.11k/v support) | Yes (Full 802.11k/v support) | Yes (Between mesh nodes only) |
| Compatible with Landline VoIP Phone Ports | Requires advanced IP Passthrough | 100% Compatible (Phone ports stay active) | Compatible (Creates network friction) |
| Setup Difficulty Level | Moderate (Requires logging into gateway) | Easy (One tap toggle in mesh app) | Plug and play (Unstable long term) |
Step by Step Setup Guide for Method 1 (Bridge Mode)
If you want the maximum performance from your new mesh system, here is how to set up Bridge Mode on your provider box in six clear steps:
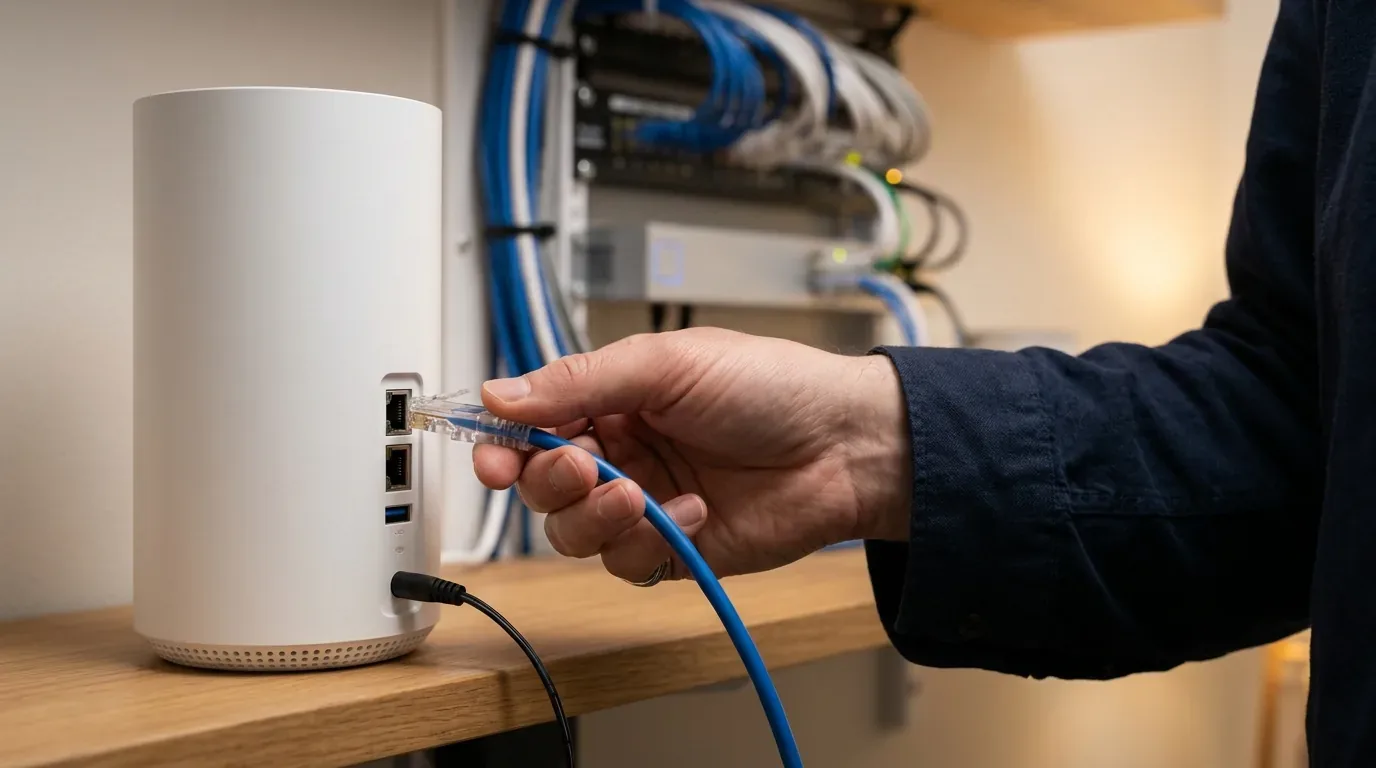
- Connect Your Main Mesh Node: Take an Ethernet cable and plug one end into Port 1 (or the primary WAN/LAN port) on the back of your provider gateway. Plug the other end into the Internet/WAN port on your primary mesh node.
- Power On and Complete Initial App Setup: Plug your mesh node into the wall power outlet. Open the mobile app for your mesh brand (such as TP-Link Deco, Amazon eero, or ASUS ZenWiFi) and follow the on-screen prompts to create your new wireless network name and password.
- Log into Your Provider Gateway Settings: On a computer or phone connected to your network, open a web browser and type your provider gateway default IP address (usually
192.168.1.1,192.168.0.1, or10.0.0.1). Enter the admin username and password printed on the sticker on your provider gateway. - Turn On Bridge Mode: Navigate to the network or routing settings tab. Look for an option labeled Bridge Mode, Modem Mode, or IP Passthrough. Toggle the setting to Enabled and click Save.
- Turn Off Existing Wi-Fi Radios: If turning on Bridge Mode does not automatically shut off the provider box Wi-Fi, manually go to the wireless settings page and disable both the 2.4 GHz and 5 GHz radios. This is vital so the old box does not pollute your home airwaves with rogue radio interference.
- Restart Both Devices: Unplug the power cables from both the provider gateway and your primary mesh node. Wait thirty seconds. Plug the provider gateway back into the wall and let it boot up completely until all internet lights turn solid green. Then, plug your mesh node back into the power outlet.

Step by Step Setup Guide for Method 2 (Access Point Mode)
If you have TV set-top boxes or telephone lines that stop working when you turn on Bridge Mode, use Access Point Mode instead. It takes less than two minutes to configure:
- Connect your primary mesh node to any available LAN Ethernet port on your existing provider router using an Ethernet cable.
- Open your mesh router mobile app on your phone.
- Navigate to More Settings, select Advanced, and locate Operation Mode.
- Tap on Access Point Mode (AP Mode) and confirm the change.
- The mesh system will restart. Once it comes back online, your provider router will handle all internet routing, while your mesh nodes deliver seamless wireless coverage across every room.
- Finally, log into your provider gateway admin page and turn off its wireless Wi-Fi broadcast so your devices only connect through your fast mesh nodes.
Provider Specific Tips for US, UK, and European Gateways
Every internet provider configures their equipment slightly differently. Here are practical tips for the most common provider hardware:
- Comcast Xfinity (United States): Xfinity xFi gateways (XB6, XB7, XB8) feature an easy Bridge Mode switch located right on the gateway management page (
10.0.0.1). Turning it on automatically disables the gateway Wi-Fi and passes the public IP address directly to Port 1. - AT&T Fiber (United States): AT&T BGW320 fiber gateways do not have a pure bridge mode. Instead, go to the Firewall tab, click IP Passthrough, set the allocation mode to DHCPS-Fixed, and select the MAC address of your primary mesh node from the device list.
- Spectrum (United States): If you have a standalone Spectrum modem (a plain box with a single Ethernet port), you do not need to do anything special. Connect your mesh node directly to the modem, unplug the modem power for thirty seconds, and restart it.
- Virgin Media (United Kingdom): Virgin Media Hub 3, Hub 4, and Hub 5 units have a dedicated Modem Mode button in their browser settings (
192.168.0.1). Selecting Modem Mode turns the hub light magenta and turns off internal routing completely. - BT Smart Hub (United Kingdom): BT Smart Hubs do not support bridge mode. The best approach for BT broadband users is Method 2: leave the BT Hub active and set your mesh system into Access Point Mode.
- European Fiber Gateways (Orange, Vodafone, Deutsche Telekom): Most European fiber providers use combined optical gateways. If your provider router cannot be bridged due to TV decoder links, Access Point Mode is the most reliable way to avoid service interruptions.
How to Prevent IP Subnet Collisions
One common mistake during installation is an IP subnet collision. Many internet provider gateways use 192.168.1.1 as their default address. Many popular mesh systems (such as ASUS and TP-Link) also default to 192.168.1.1 out of the box.
If you connect two routers that use the exact same IP address on both sides, the mesh router will become confused and report that the internet cable is unplugged. Smart modern mesh routers will automatically detect this collision and shift their internal network to 192.168.0.1 or 10.0.0.1. However, if your mesh app gets stuck during initial setup, simply unplug the Ethernet cable between the two boxes, complete the basic setup in the app, and manually set the mesh LAN IP to 192.168.68.1 before plugging the cable back in.
If you are exploring which mesh hardware to buy for your home layout, take a look at our hands-on review of the best mesh wifi systems in 2026. If you are comparing your options against wall-plug boosters, read our breakdown on mesh wifi versus range extenders. You can also explore our troubleshooting guide on how to fix common mesh wifi problems and our head to head testing of mesh wifi versus a single router in large homes.
Frequently Asked Questions
Will adding mesh Wi-Fi make my internet speed faster than what I pay for?
No. A mesh Wi-Fi system cannot increase the maximum internet speed coming into your home from your service provider. If you pay for a 300 Mbps broadband plan, your download speed will always top out at 300 Mbps. However, what a mesh system does is deliver that full 300 Mbps speed to bedrooms, basements, and backyards where your old single router delivered only 20 Mbps or dropped out completely.
Do I need to turn off Wi-Fi on my existing provider router?
Yes. Turning off the Wi-Fi on your provider router is strongly recommended. If you leave your old box broadcasting Wi-Fi alongside your new mesh nodes, both systems will shout over the exact same radio channels, causing wireless congestion and reducing overall speeds. In addition, devices might accidentally connect to the slower old box instead of your fast mesh nodes.
Can I use my existing router Ethernet ports when my mesh is in Bridge Mode?
When your provider gateway is placed into Bridge Mode, its routing functionality is disabled, meaning you cannot plug other computers, smart TVs, or switches into the remaining LAN ports on the provider box. All wired devices must be plugged into the Ethernet ports on your mesh router or into an inexpensive unmanaged network switch connected to the primary mesh node.
What happens if I ignore Double NAT and just plug my mesh in?
If you just plug your mesh router into your existing gateway without configuring Bridge Mode or AP Mode, basic internet browsing, email, and YouTube streaming will usually work fine. However, you will run into issues with online multiplayer gaming (Strict NAT errors), VPN disconnects for remote work, and smart home gadgets failing to respond when you are away from home.
Is Access Point Mode worse than Router Mode on mesh Wi-Fi?
Access Point Mode provides the exact same high wireless speeds, strong signal coverage, and seamless 802.11k/v roaming as Router Mode. The only difference is that your existing provider router manages the firewall and device IP addresses. The only minor downside is that some mesh brands disable parental control timers or bandwidth tracking when running in AP Mode.
Loading comments…